I love elephants. They're incredible, kind, compassionate and strong with such beautiful wise old eyes and big hearts!
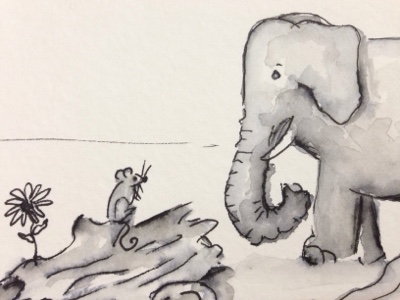
I've drawn so many of them often over the years including this one I sketched in pen and wash the other day.


Thanks for reading my blog :D
I drew the elephant a tad crooked so decided that he's just scratching his leg on the tree!
My ellie and mouse were drawn with a Derwent Graphic Line Maker in .3 and I used a waterbrush to activate the ink to blend out.
Its a great technique, turning a line drawing into a greyscale painting. It can be simple doodles, Zentangling or highly detailed illustrations. Whichever side of the line you wet will bleed and blend into grey shadows.
Only the basic supplies are needed too, making it easy on the purse strings!
A waterbrush like the Jasart ones in my photo. These are fantastic! They hold oodles of water, saving you from carrying jars of water wherever you go. A square of kitchen paper will be useful too. I tend to clean my brush or test water amounts on the back of my hand so paper towel will stop your hand turning grey and soggy!
Drawing is done with a waterbased black pen, felt tipped or fine marker (texta) like a Chameleon Detail Pen (pictured) or Derwent Graphik Line Maker. The kids's textas like Crayola or the Faber-Castell ones that join together will work too :) You'll soon find out if your pen is waterbased or not when you use it, because if its not, it won't react to water no matter how many buckets of water you throw at it! The paper will get super soggy though, but that's fine too because it will dry and can be reused :)
My favourite paper to use is Strathmore, either the 400 series (brown cover) or the spiral bound art journal. This high quality watercolour paper withstands quite alot of water and scrubbing without going furry (pilling) or creating holes. Like any porous surface, too much water with friction will damage it eventually so still be gentle!
This rose in a tin pot was just a few squiggles, a few splotches of water and voila, a groovy little picture appeared! And the roses stayed looking like roses too, always a bonus! A couple of soft spots of water in the flower centres gives an impression of a full flower while wetting the tin can's sides makes it appear round.
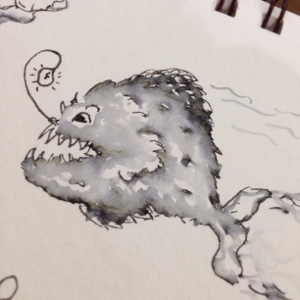
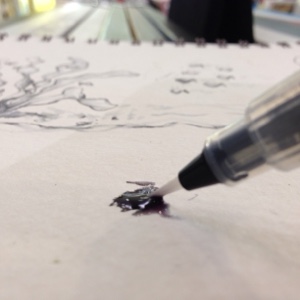
The next few drawings are with my Chameleon pen (detailer, using .6 end). You can see the different colours that make black inks when you add water to them. The Graphik pen dries in variations of grey while the Chameleon dries with hints of green and yellow in soft grey tones.
They're all different, I had a Stabilo black felt tip pen that dried showing bright blues :) Experiment with what you have and see what other colours appear.
To create a simple watercolour flower using a pen 'n wash technique...
A - draw a spiral with the pen.
B - 'paint' the spiral to activate the ink using the waterbrush.
C - pull out the ink with the brush using a flicking action.
D - pull out more colour to create more or longer petals or even curved petals.
Once your flower is dry, add some loops for petals and add dots and spots for the centre. I also added a few white spots.
Its amazing the difference a few squiggles and spots can do!
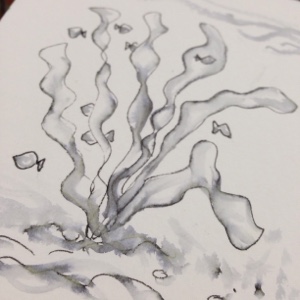
The next picture I've drawn and then used my waterbrush to pull out the ink to give shadows and shape.
The next few closeups will give a better idea...
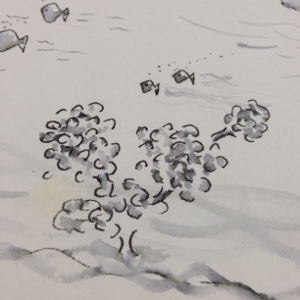
I like how sometimes things work out! The wash has made the seaweed look really bendy :)
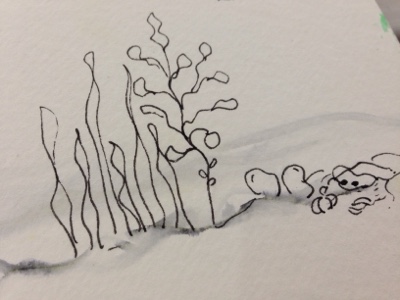
This pic with the crab hiding in the sand was drawn over the sandy wash. No water has been added to the seaweed or crab.
You can use the pen like regular paint simply by scribbling a small spot then adding water to it.
I made a spot of paint like this to add extra swirls in the sea and behind the fast swimming fish. Use quickly as it will dry. Not all pens reactivate once dry (after being wet once).
Hope this has shown how simple watercolour can be and are inspired to have a go :) Sing out if you need help or have questions.
Happy creative day!
:)
Jenny
Comments
Post a Comment
Thanks for visiting. Have a happy creative day!