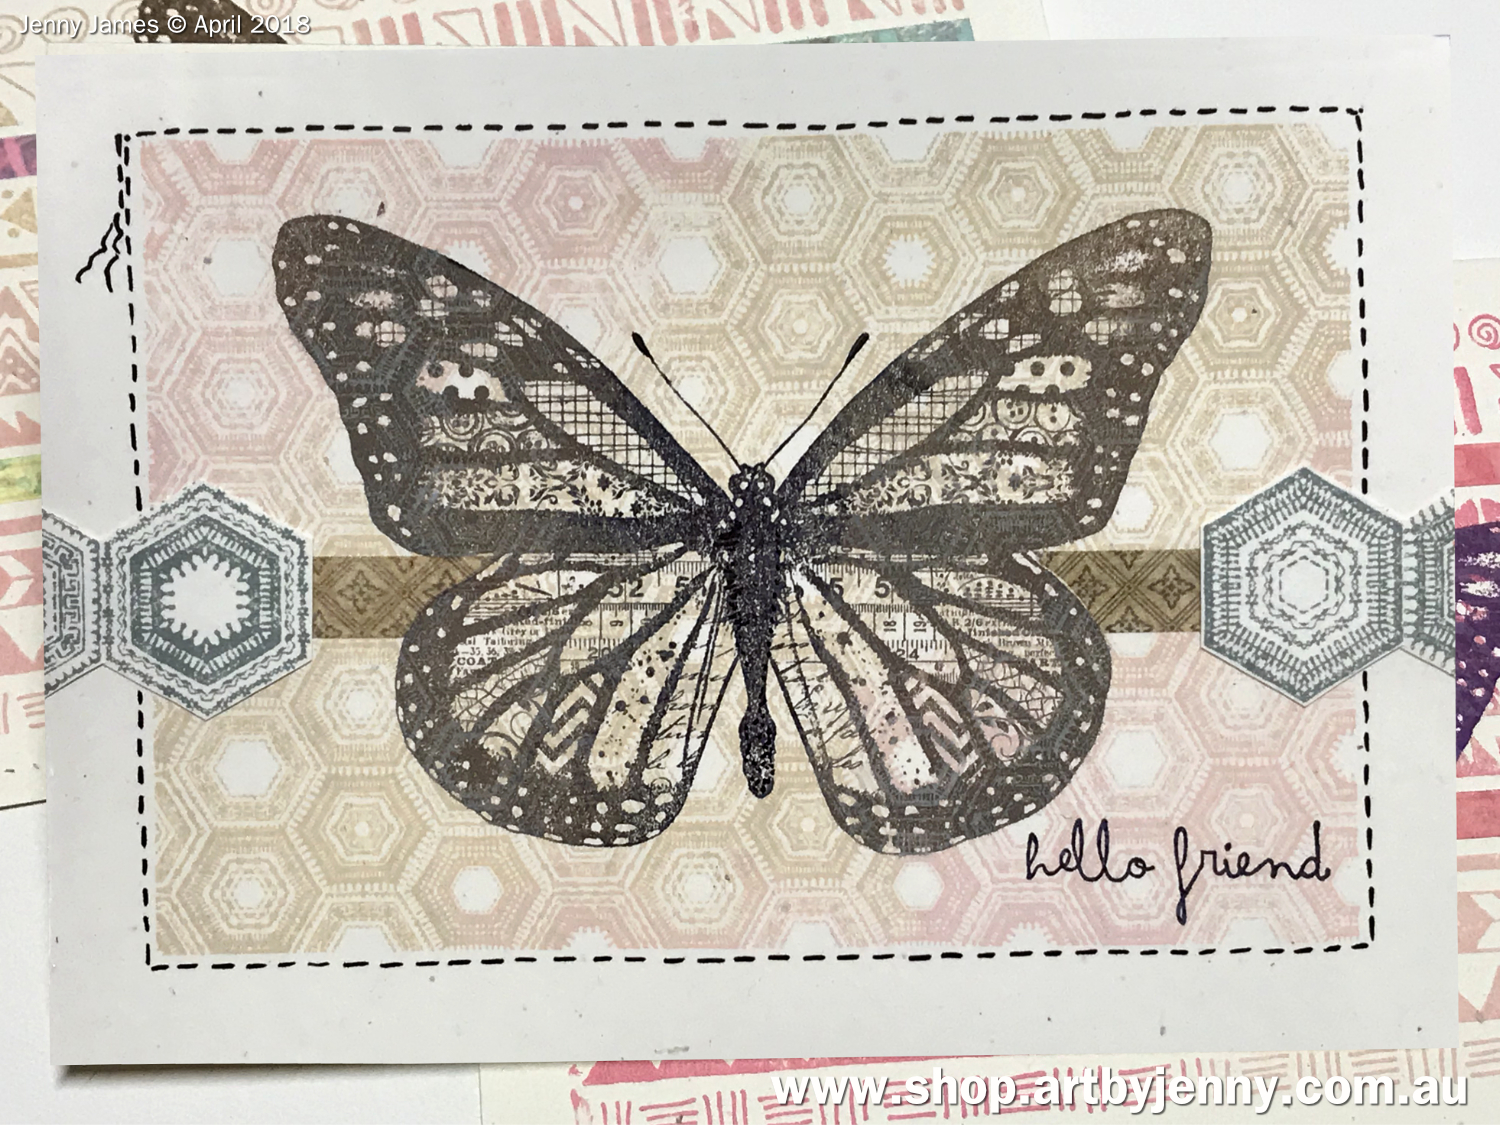
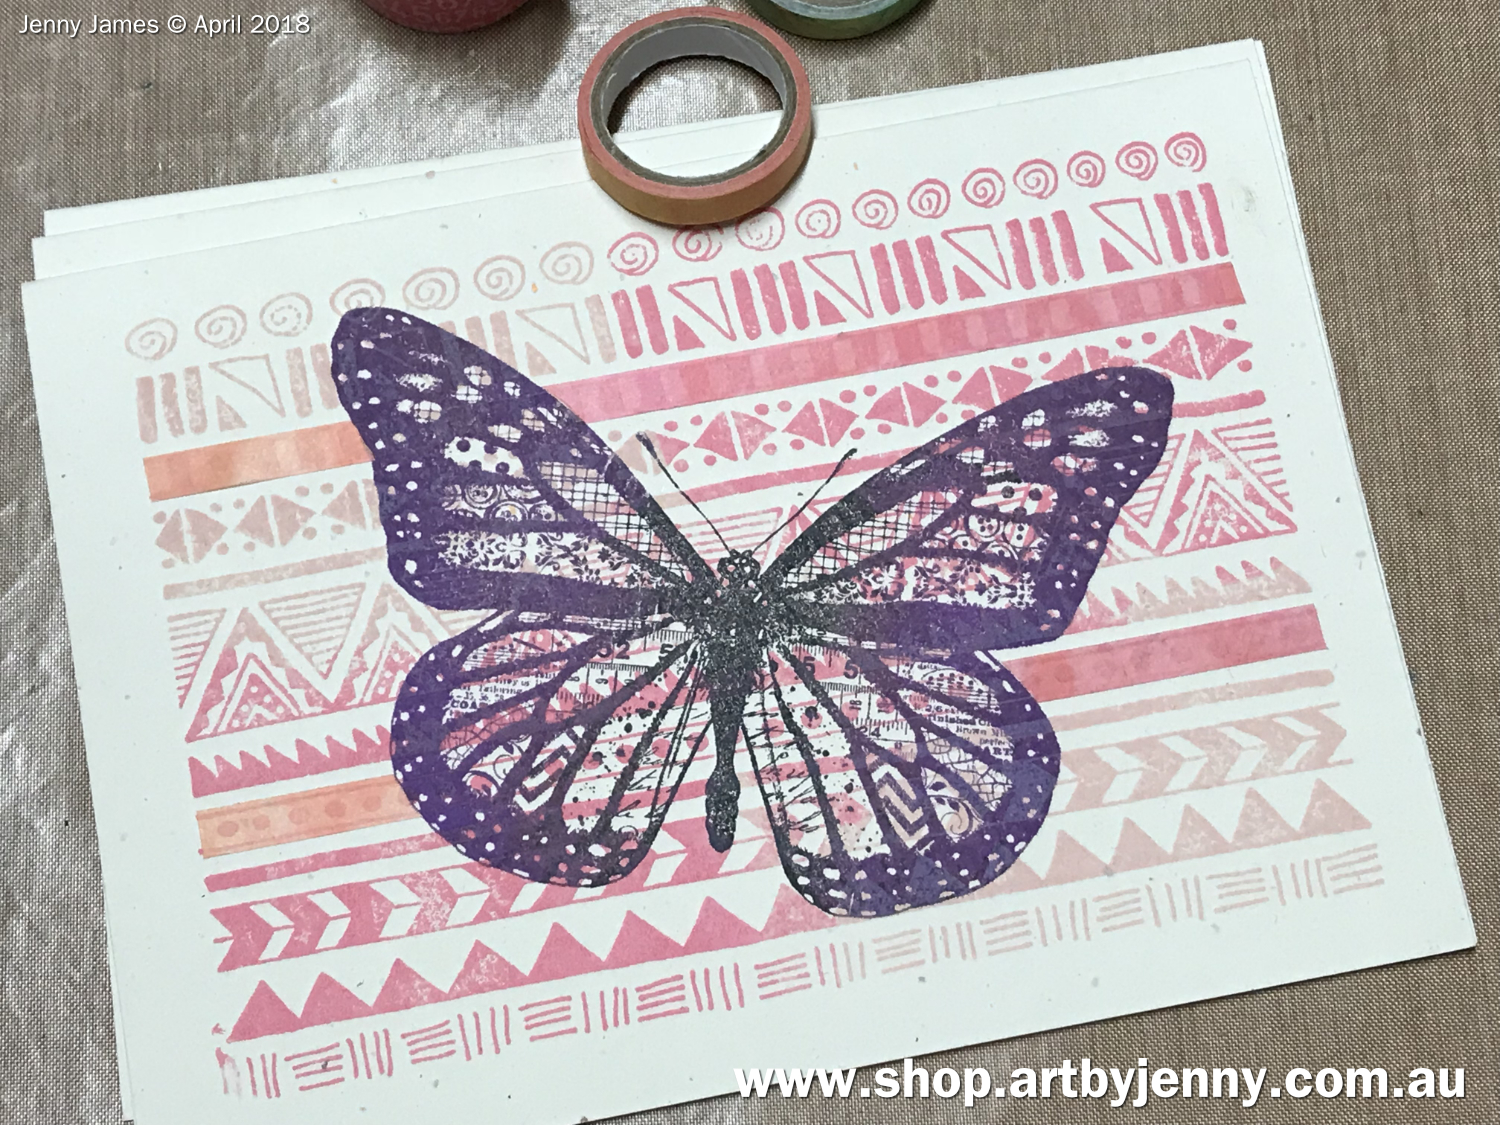
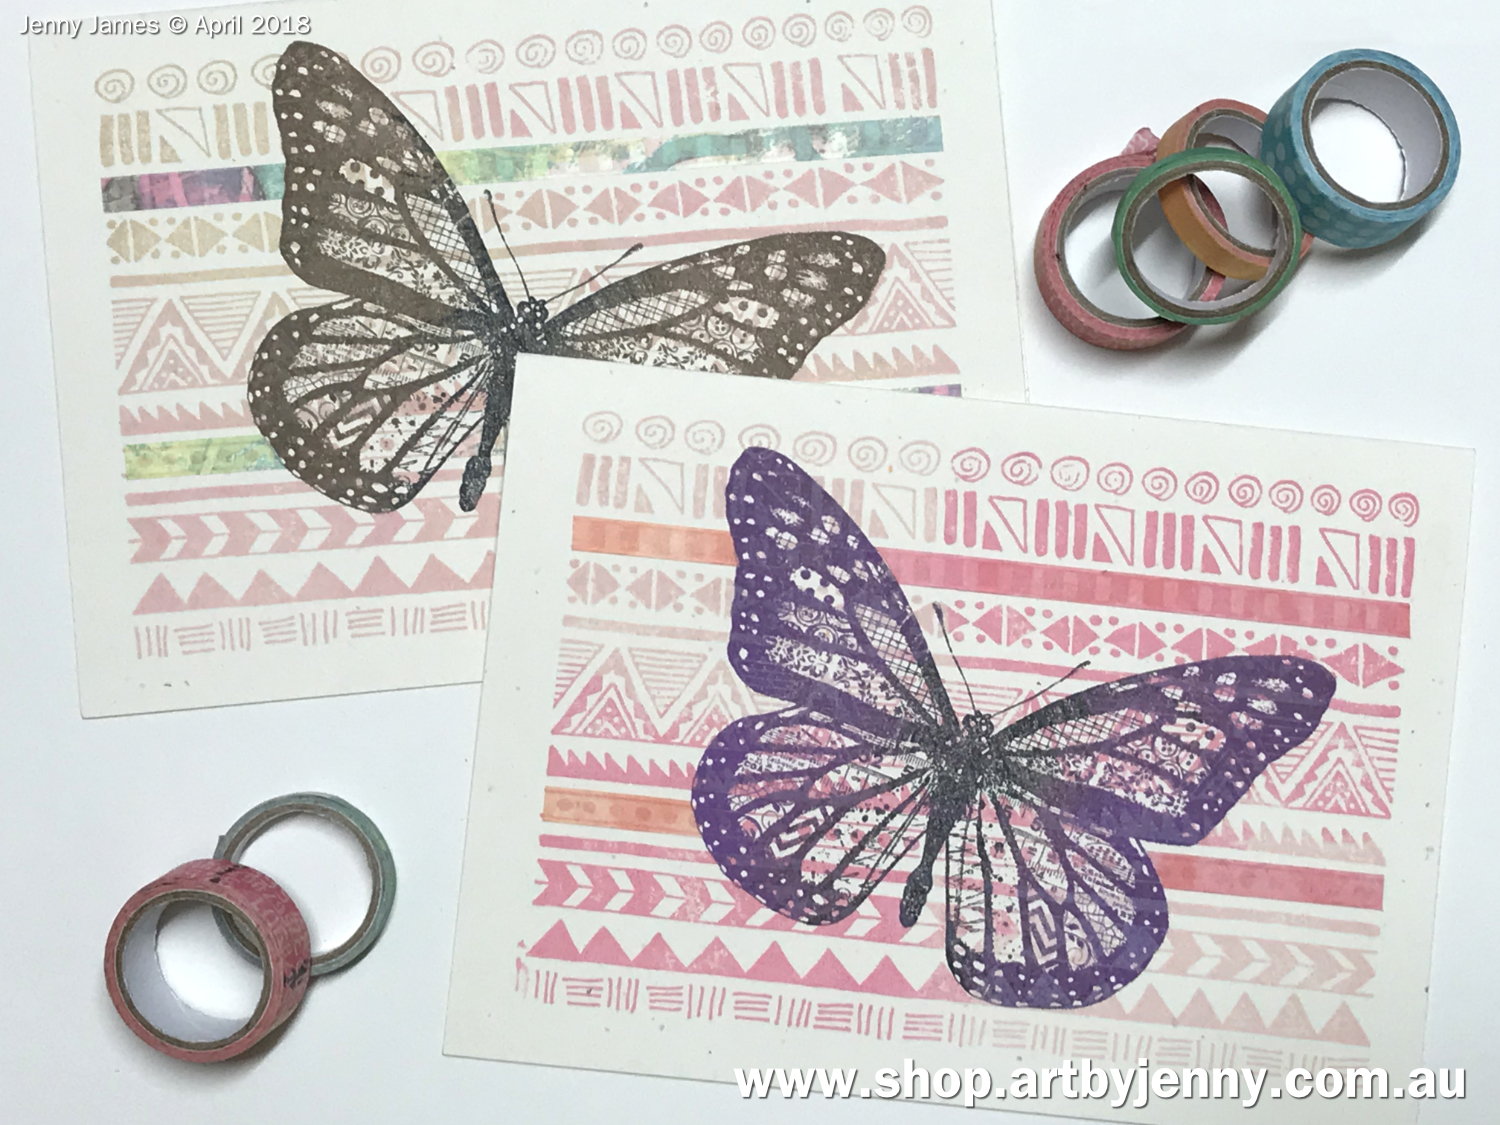
A quick and easy card to make for Mother's Day using a big beautiful butterfly with different background stamps. A pretty card that can be used to say anything at all.
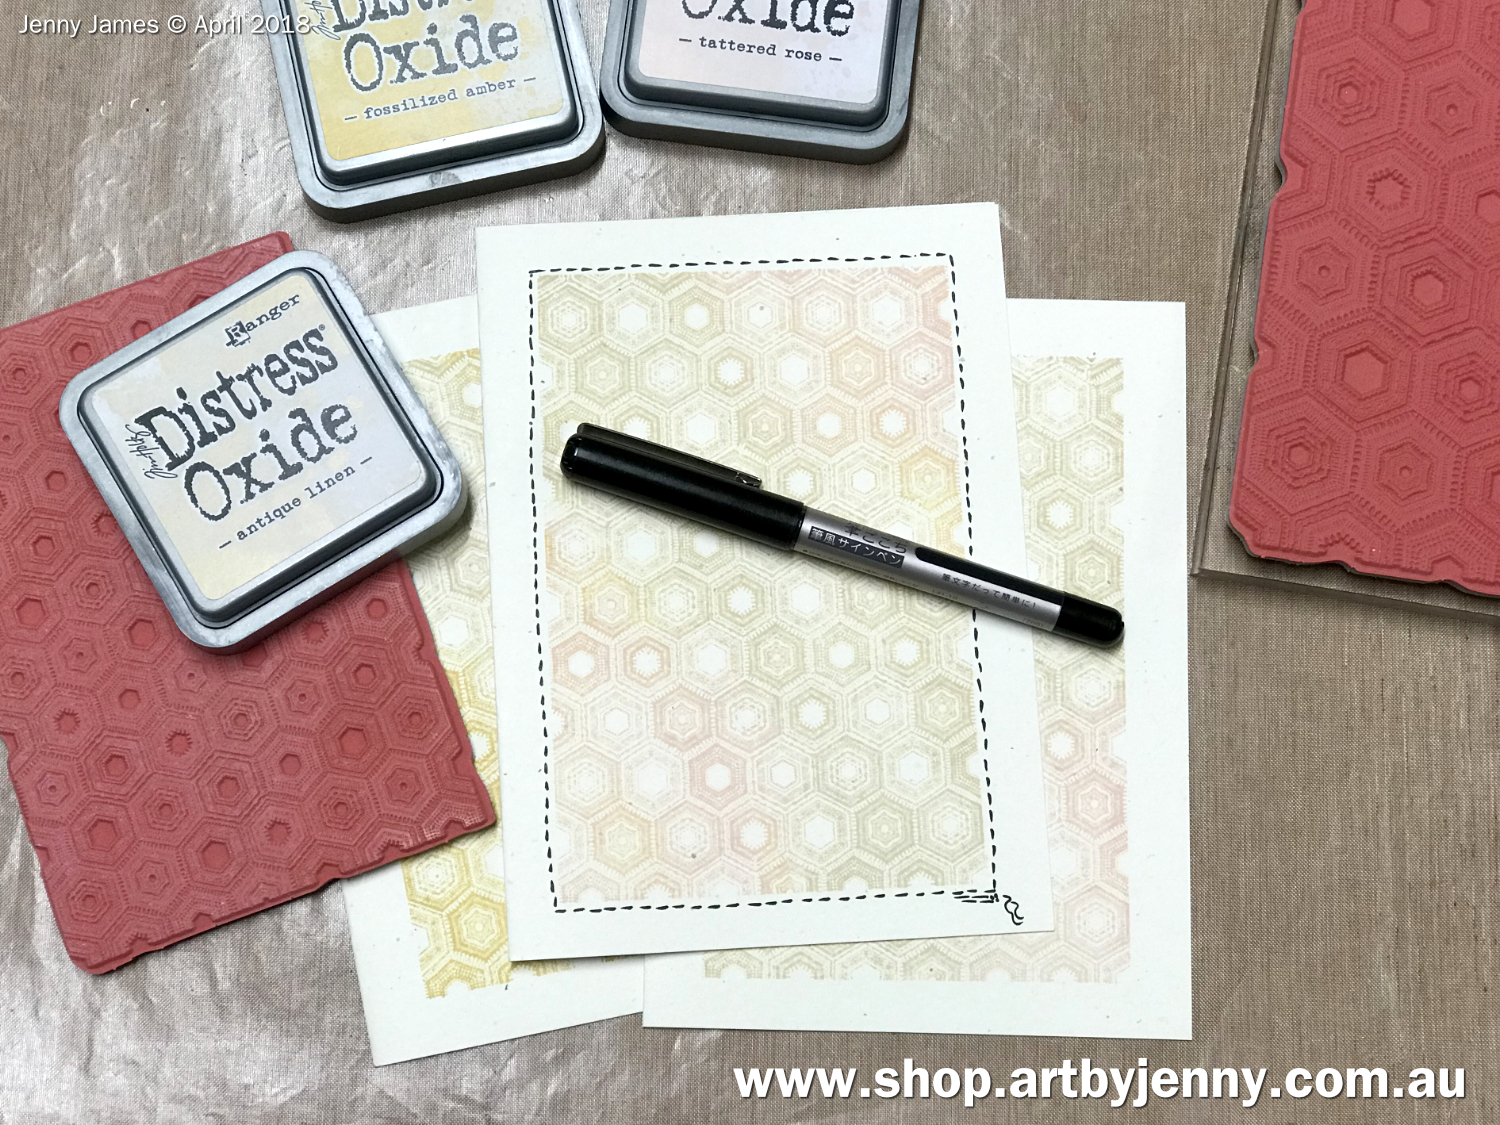
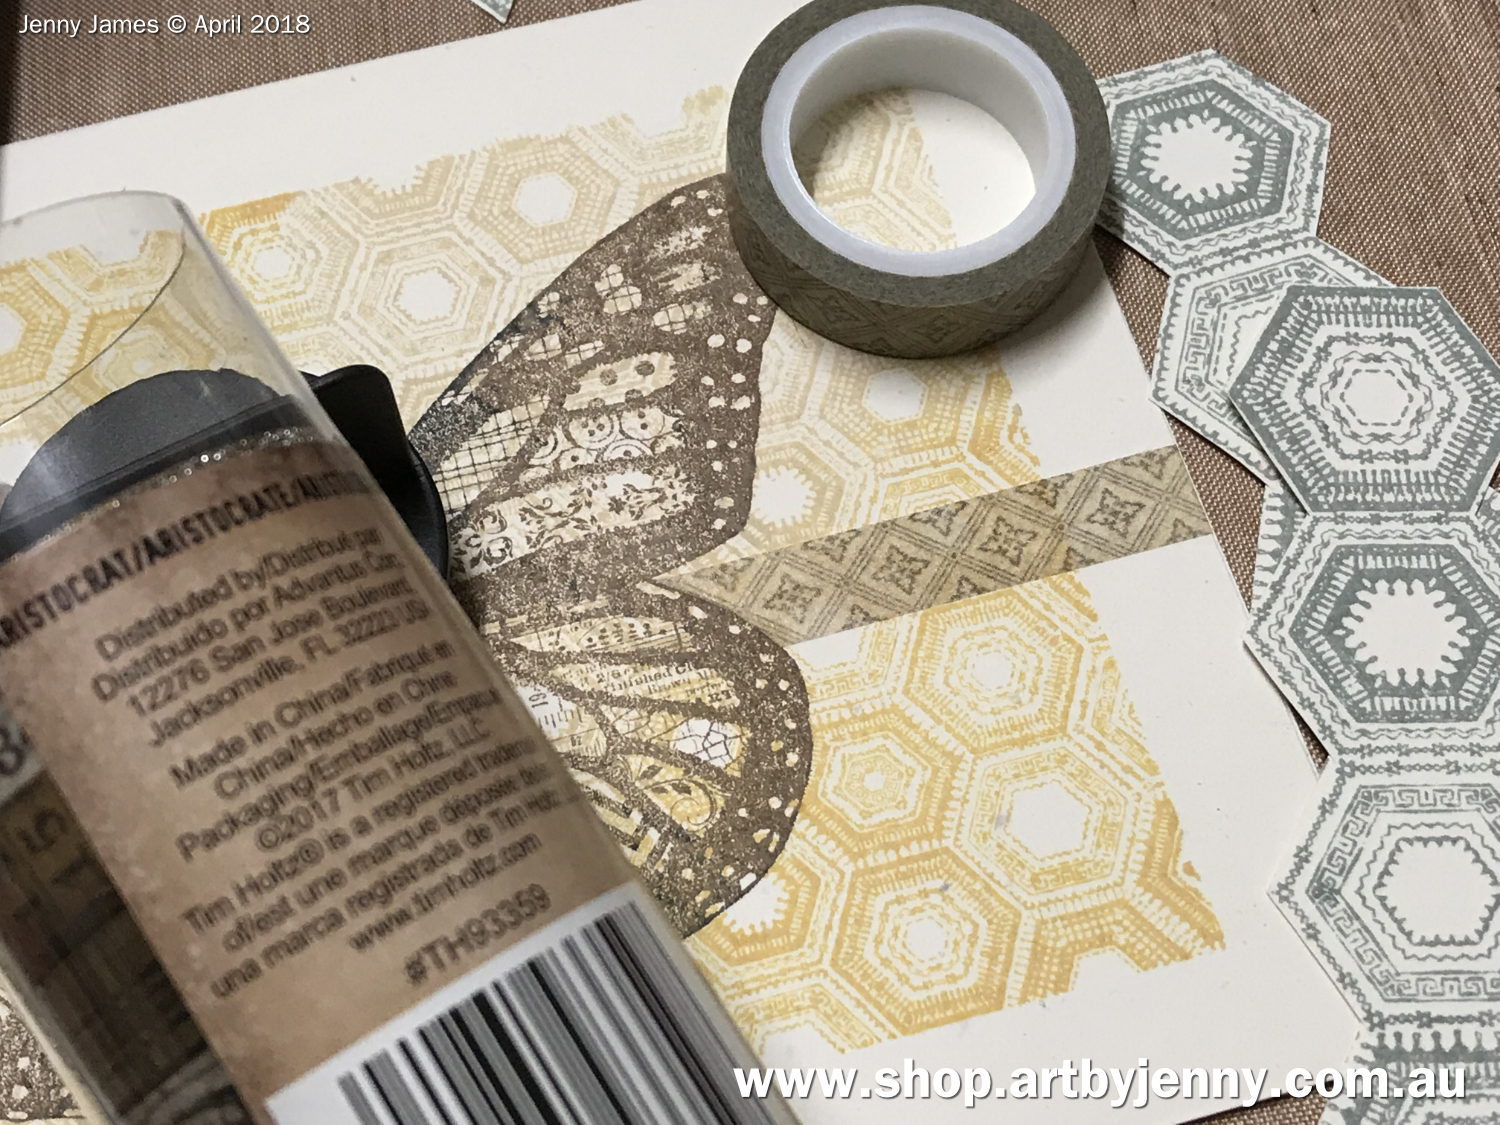
For these cards, you only need a few treasures...
Everything (and more) is available at www.shop.artbyjenny.com.au.
Instructions...

For stamping multiple colours at the same time, ink up part of the stamp in one colour and the remaining rubber with the other colour. Its not necessary to be precise as its just a background.
Even though some combinations may show a strong contrast between the two colours, where the colours meet isn't really noticeable once the butterfly is stamped.
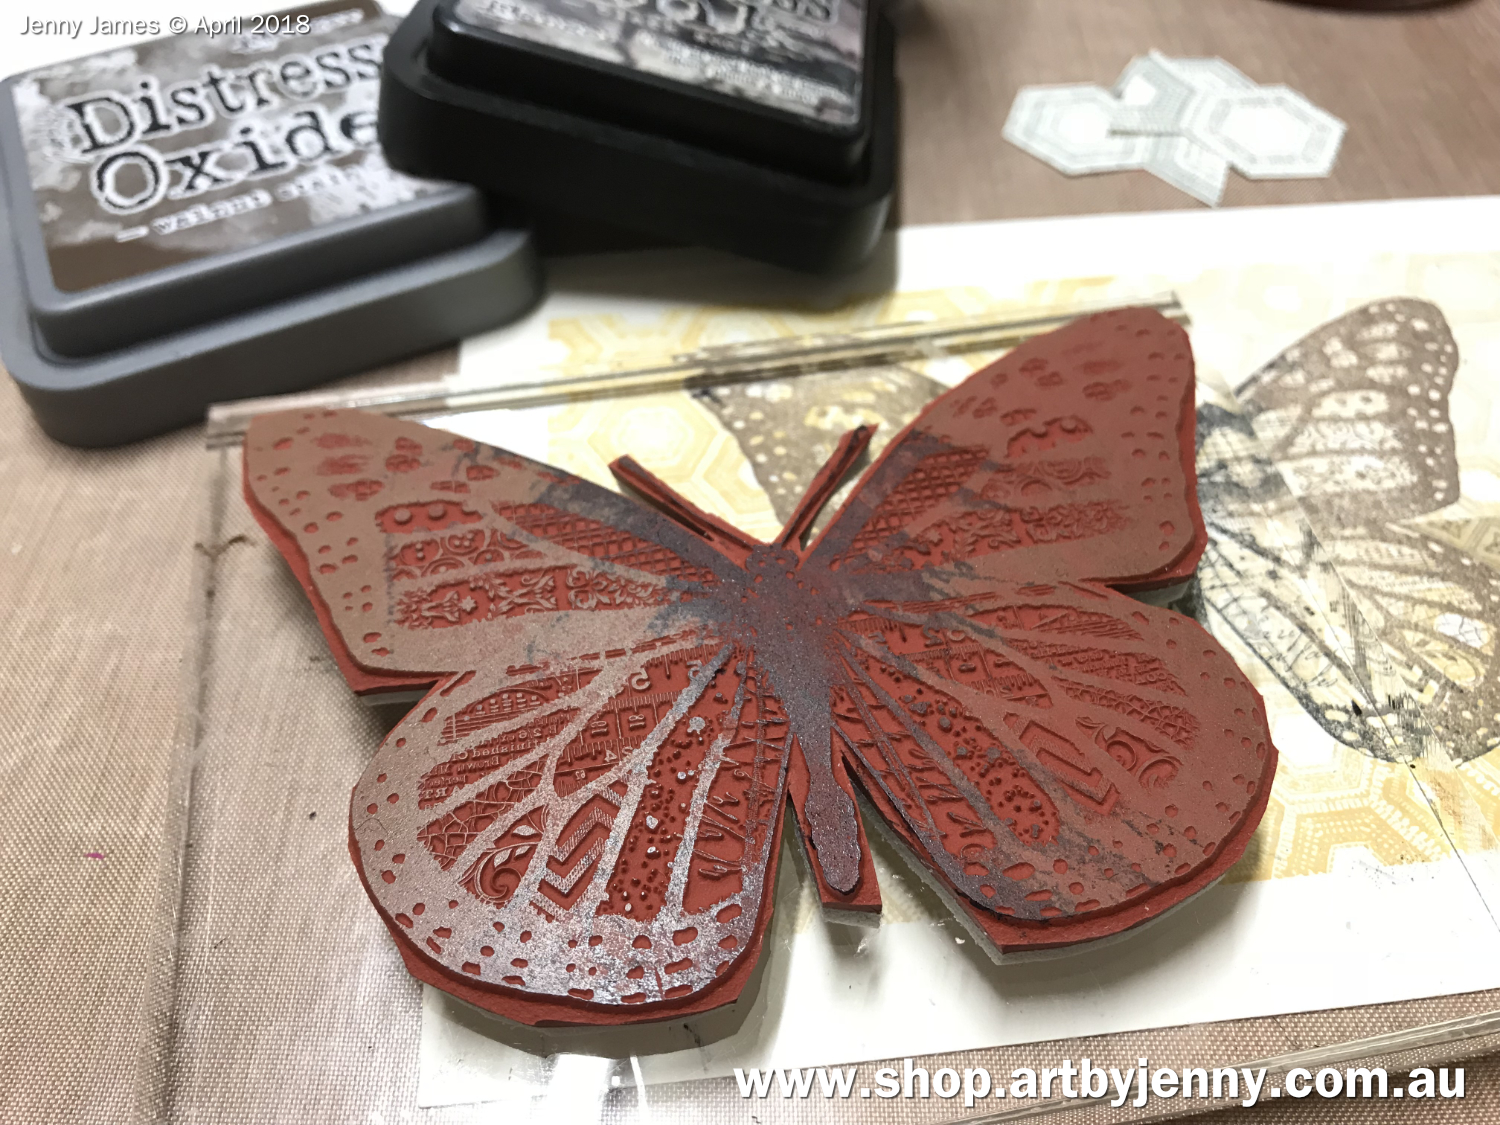
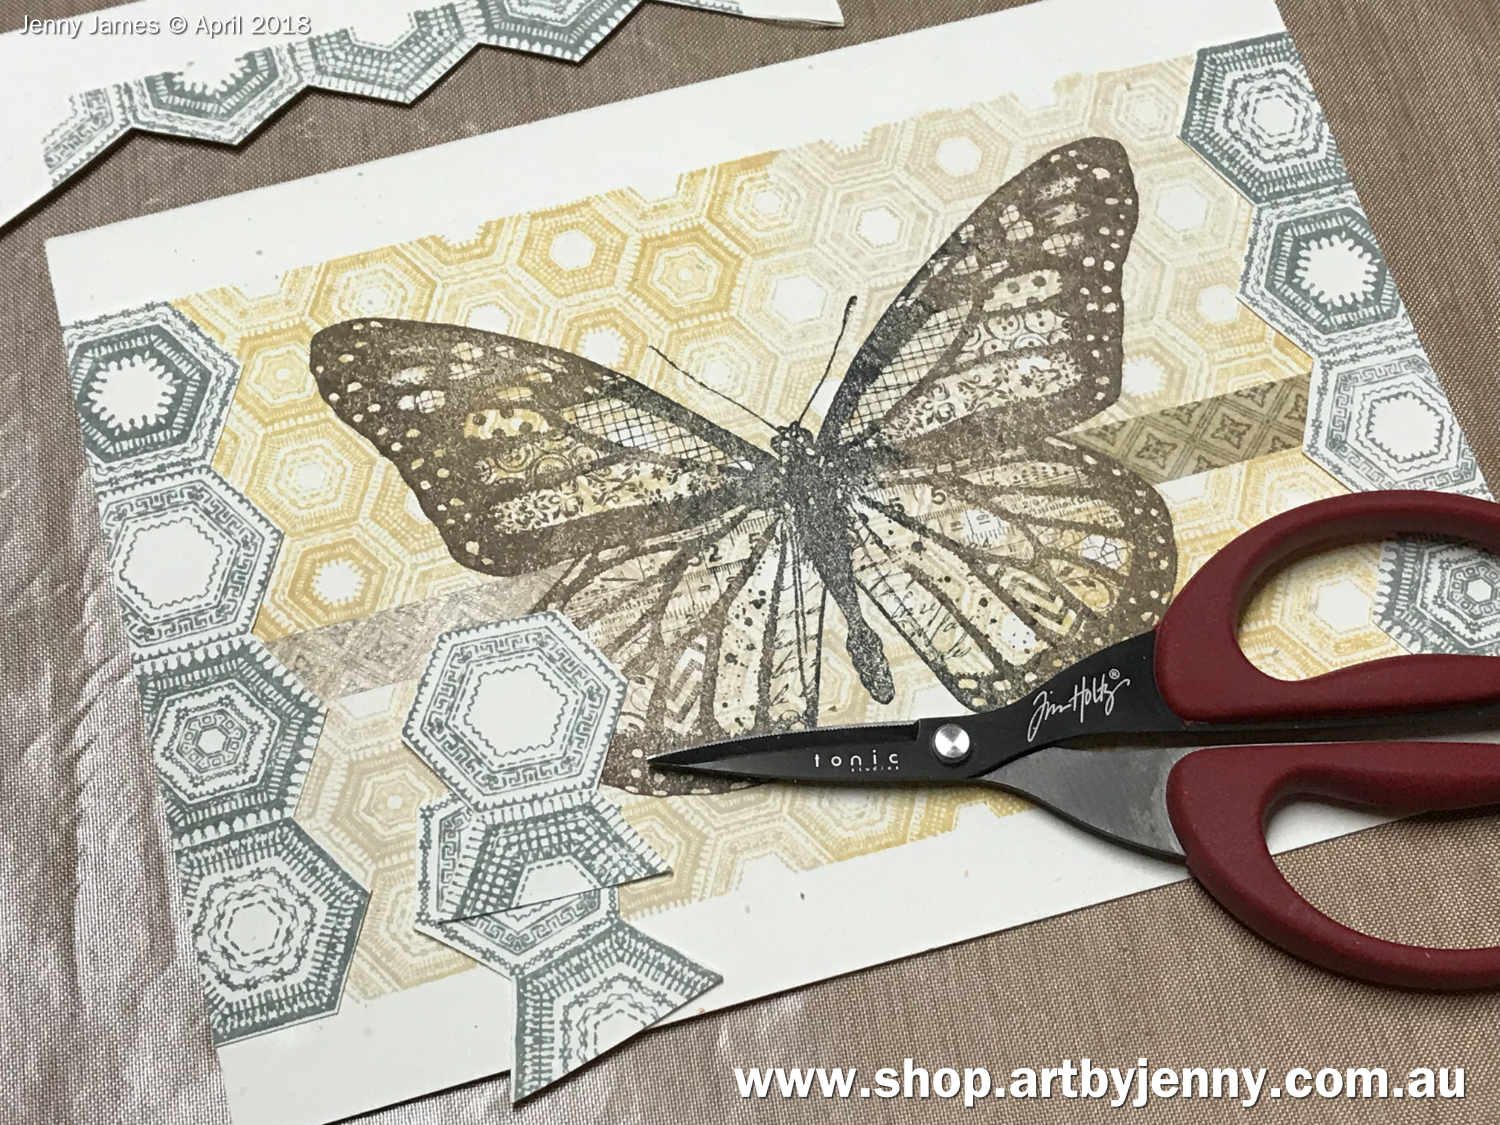
First I inked the wings with Distress Oxide Walnut Stain, then used Black Soot for the body and antennae.
To get the black ink only over the centre of the design, hold the inkpad at an angle, tilted so the corner and edges of the inkpad are touching the surface. Again, its not a precise thing, and you can always re-ink the wings with the brown before pressing the butterfly onto the card.
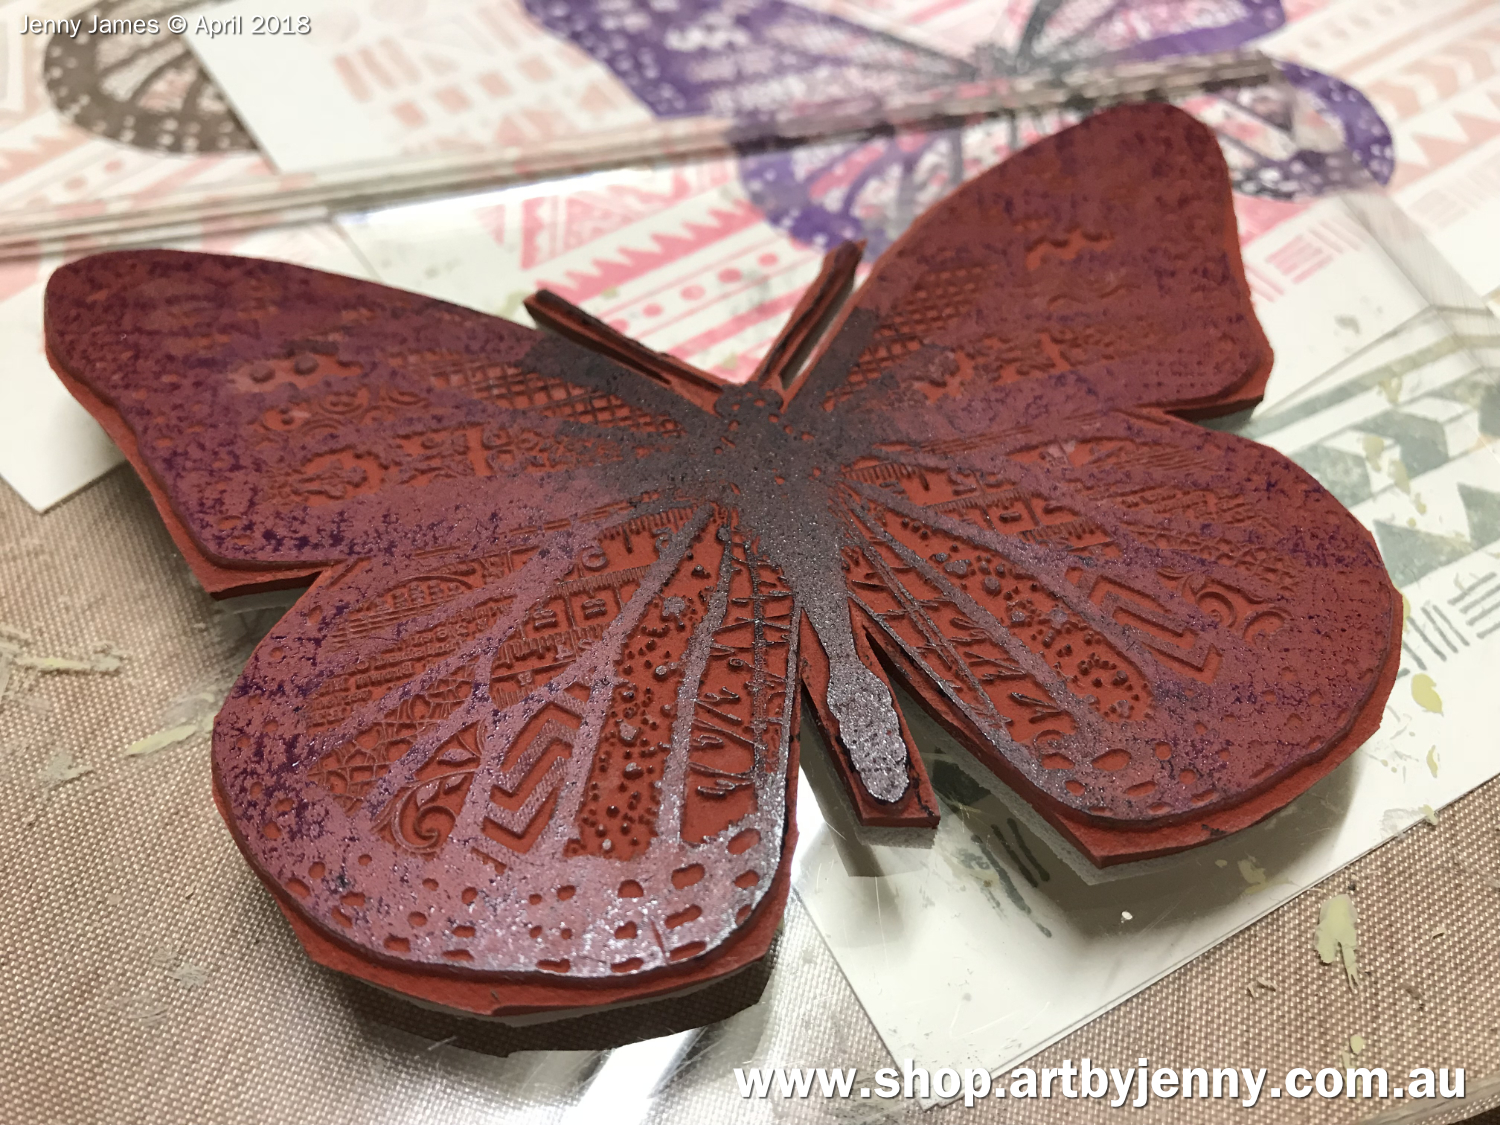
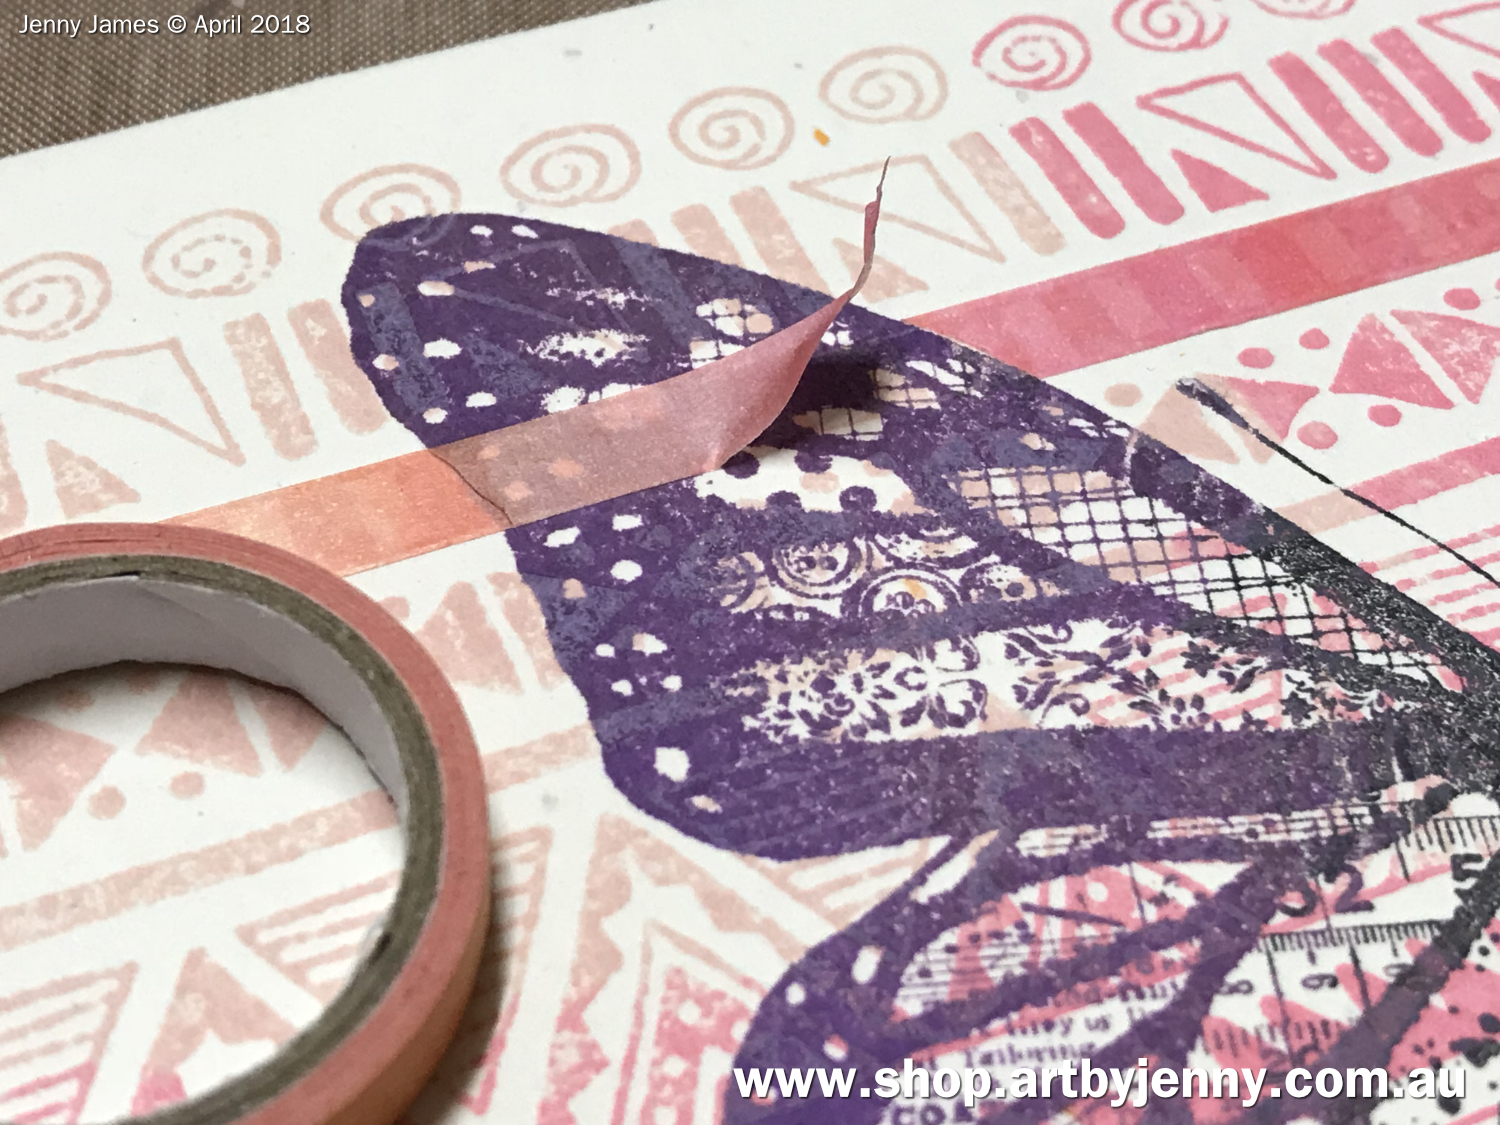
You can use any colours you want for this technique. Choose the colours that make you smile :)
For a guide, keep the warm colours with warms (reds, oranges, golden yellows) and cool colours with cools (greens, blues, lemon yellows). The warms and cools are fine to have other colours (black, brown, purple, white) with them to compliment, enhance, add contrast and interest.
Mother Nature is the perfect example of what colours to put together - trees (green, black, brown), sky (blue, white, red, orange, purple), rainbow (everything). When she puts contrasting colours together, its not usually an equal amount - just a hint of red with green (berries on trees) or hints of orange with blue (sunsets).
Choose colours that make you smile :)


More Ideas...
1... If you don't want the background to show through the butterfly, it just adds one more step. Stamp the butterfly onto the card and again on a piece of plain paper. Turn the second butterfly into a mask by trimming around its shape. Place this over the image on the card before printing with the background stamp.
2... Colour in the wings with your favourite solvent based markers (as watercolour pens will blur the design unless you spray with a fixative).
3... Stamp the butterfly onto mixed media paper, trim around the design and glue onto the background. Make tiny scraps of card folded in a concertina fashion and glue them under the wings to give them lift. The tiny zigzagging pieces go flat for inside an envelope and then pop up when on display.
There are no limits to cardmaking... get creative and have fun :)
If you need a hand, sing out anytime. I'm here to help as well as sell you awesome arty treasures!
Happy Creative Day!
:)
Jenny
Comments
Post a Comment
Thanks for visiting. Have a happy creative day!